Input View Guide
The Input View tab allows you to review and modify your input data after it has been imported. The data is displayed in a spreadsheet format, and certain columns in each sheet are editable, giving you the flexibility to make adjustments before running the optimization process.
Overview of Input View
The Input View is organized into three data sheets, corresponding to the sheets in your input Excel file:
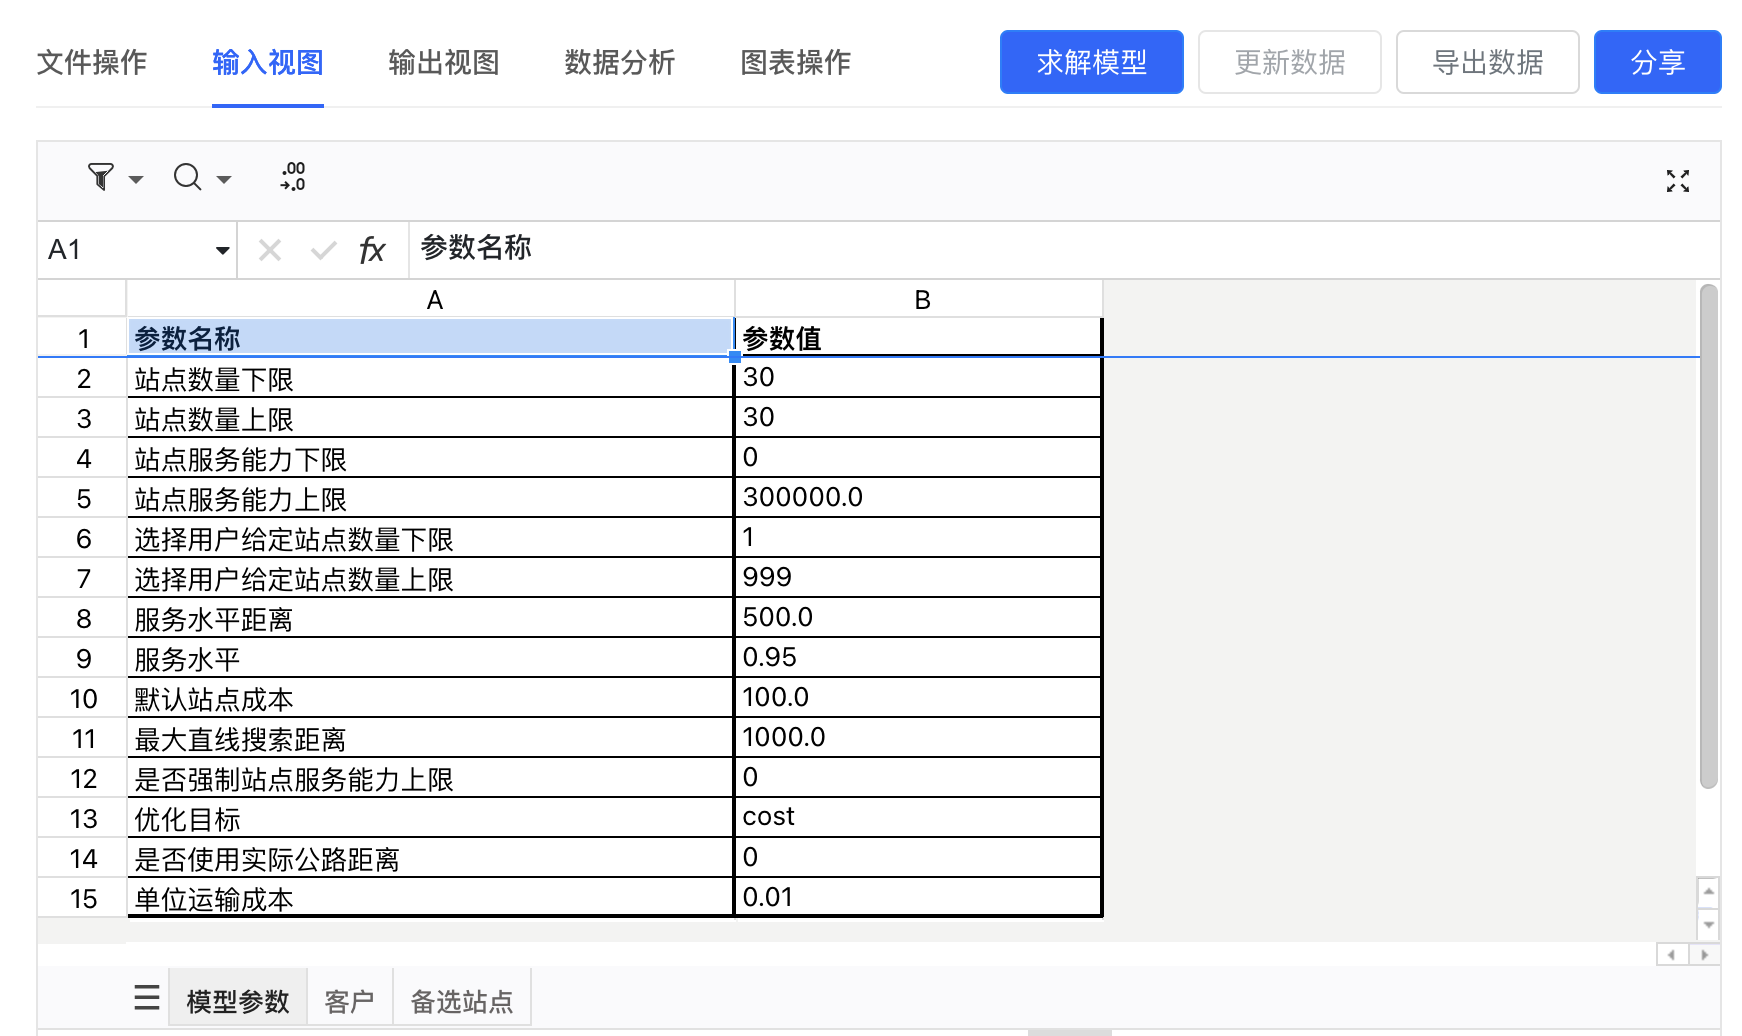
- Parameters
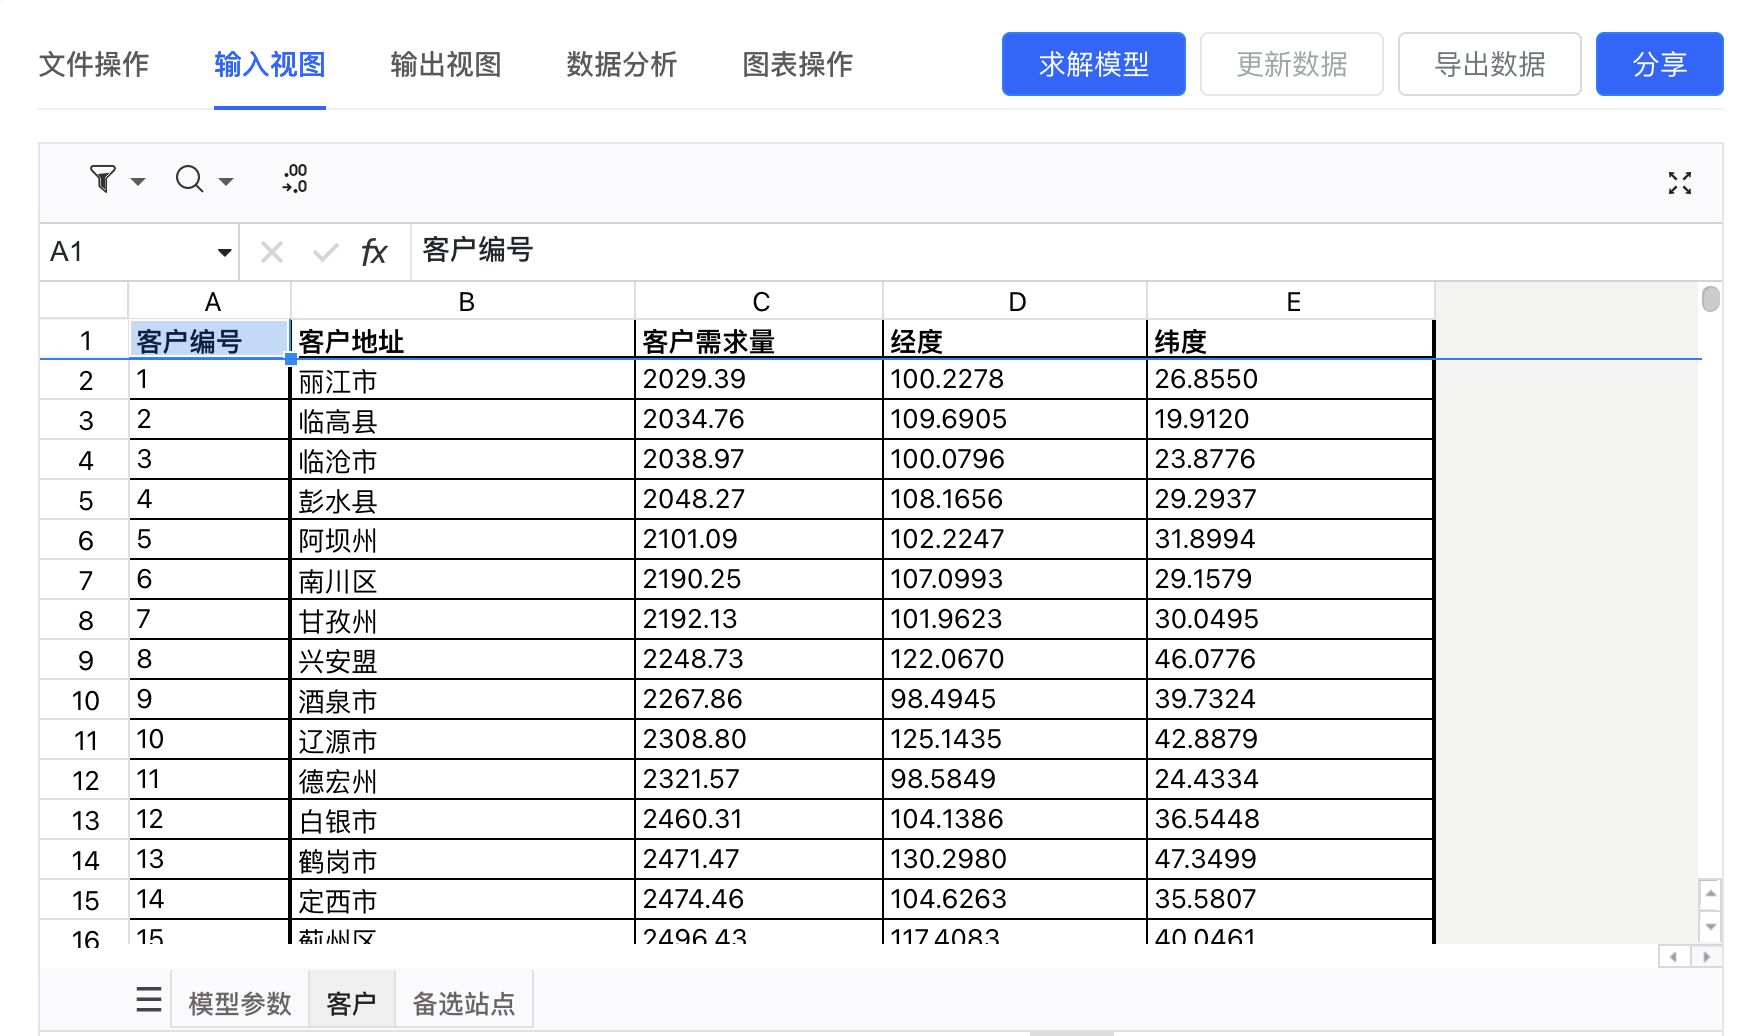
- Customers
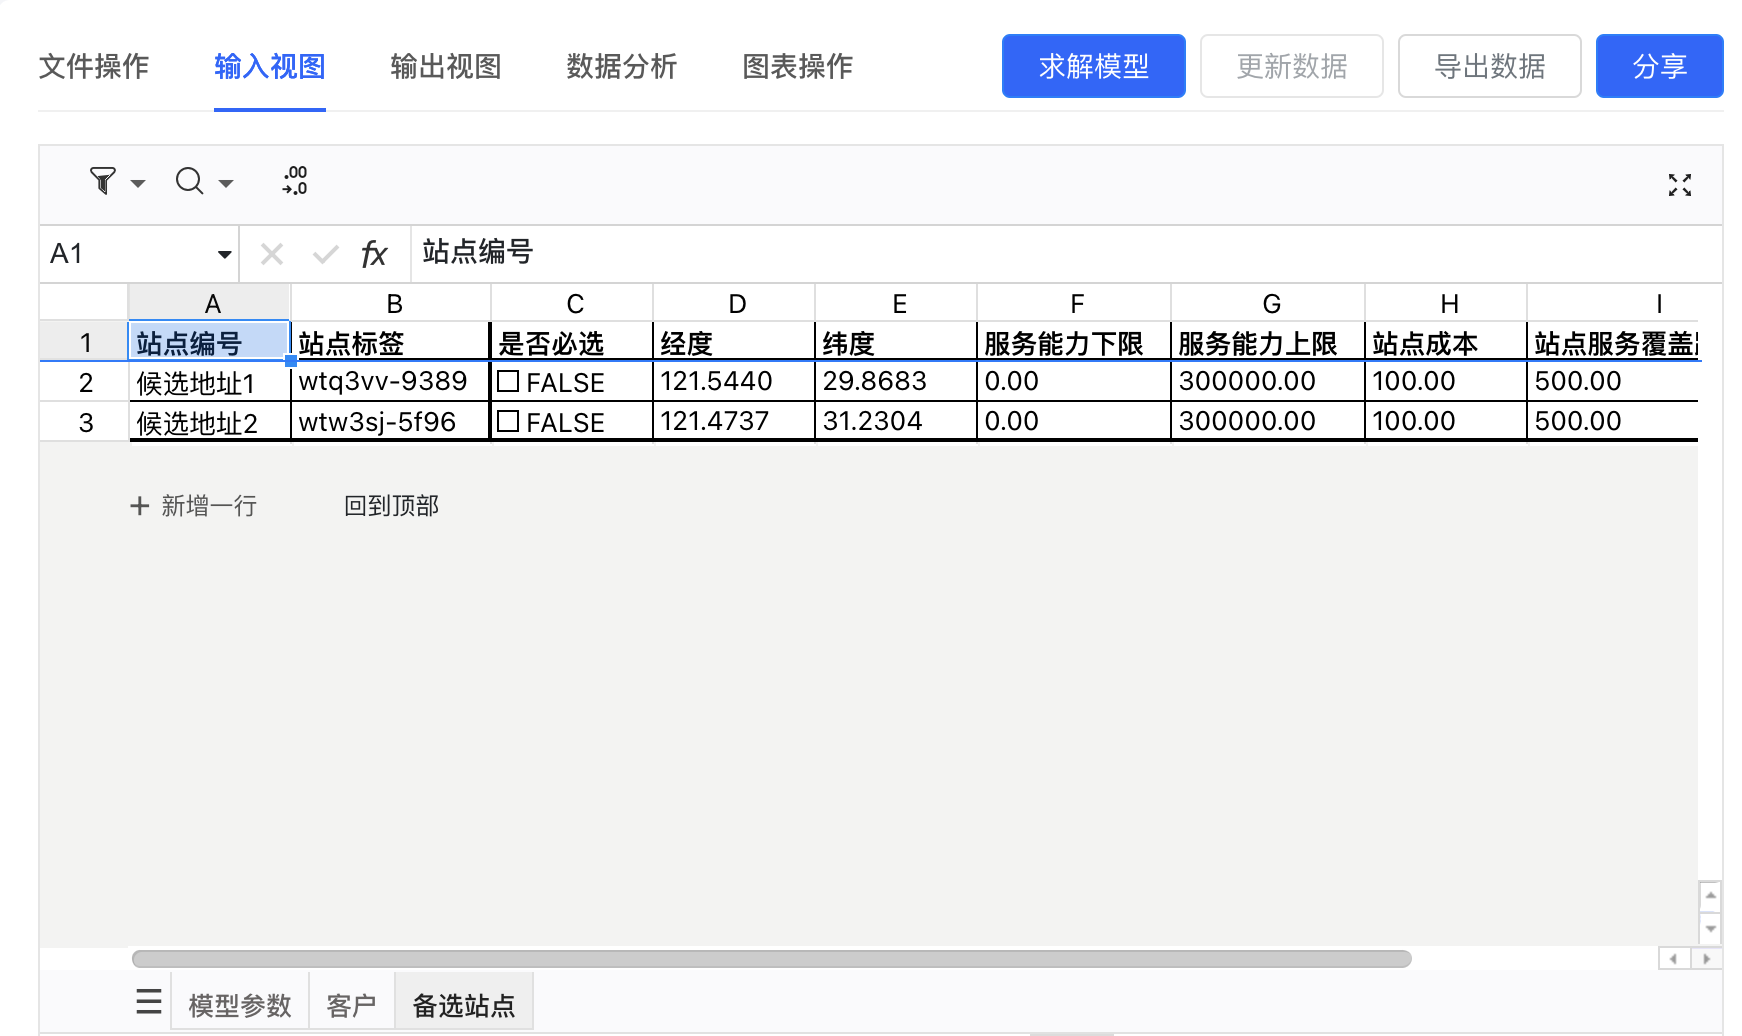
- Sites
Each sheet displays the relevant data in a tabular format, and specific columns are editable. After making any changes, it’s essential to update the data by clicking the Update Data button to ensure that your modifications are applied to the optimization process.
Here’s a breakdown of the sheets included in the Input View:
Parameters

Editable columns:
- Parameter Value
Customers

Editable columns:
- Customer Address
- Customer Demand
- Latitude
- Longitude
Sites

Editable columns:
- Mandatory
- Latitude
- Longitude
- Minimum Capacity
- Maximum Capacity
- Site Cost
- Maximum Service Distance
Making Changes and Updating Data
- Edit Data: Click directly on the editable cells to make any necessary changes to your data.
- Activate Update Data Button: After making changes, you’ll notice that the Update Data button becomes activated.
- Apply Changes: To ensure that your changes are applied to the optimization process, you must click the Update Data button. If you navigate away from the page or run the optimization without clicking this button, your changes will not be saved or considered.
Starting the Optimization Process
Once you’ve reviewed and updated your data, you’re ready to start the optimization process.
- Click the Solve Button: To begin the optimization, click the Solve button. This will initiate the optimization process based on the current data and settings.
- Monitor Progress: After clicking Solve, the tool will begin processing the data to find the optimal warehouse locations and customer assignments.
Exporting Data
The Export Data feature allows you to export your input data to an Excel file. This can be useful for keeping a backup of your current data, sharing it with others, or reviewing your data outside of the tool.
Note that the exported file will include any changes you've made, even if you haven’t clicked the Update Data button.
Tips for Using the Input View
- Review Your Data: Before making any changes, review the data in the Input View to ensure that it was imported correctly and matches your expectations.
- Make Informed Edits: When updating values, ensure that the changes are consistent with your overall optimization goals. For example, adjusting customer demand or site capacities will directly impact the results.
- Regularly Save Your Work: After making edits, click the Update Data button regularly to save your changes. This will ensure that your work isn’t lost and that the optimization process uses the most up-to-date information.